Pre-Hung Steel Doors with Low-E Glass | Through-Frame Screw and Bolt Installation
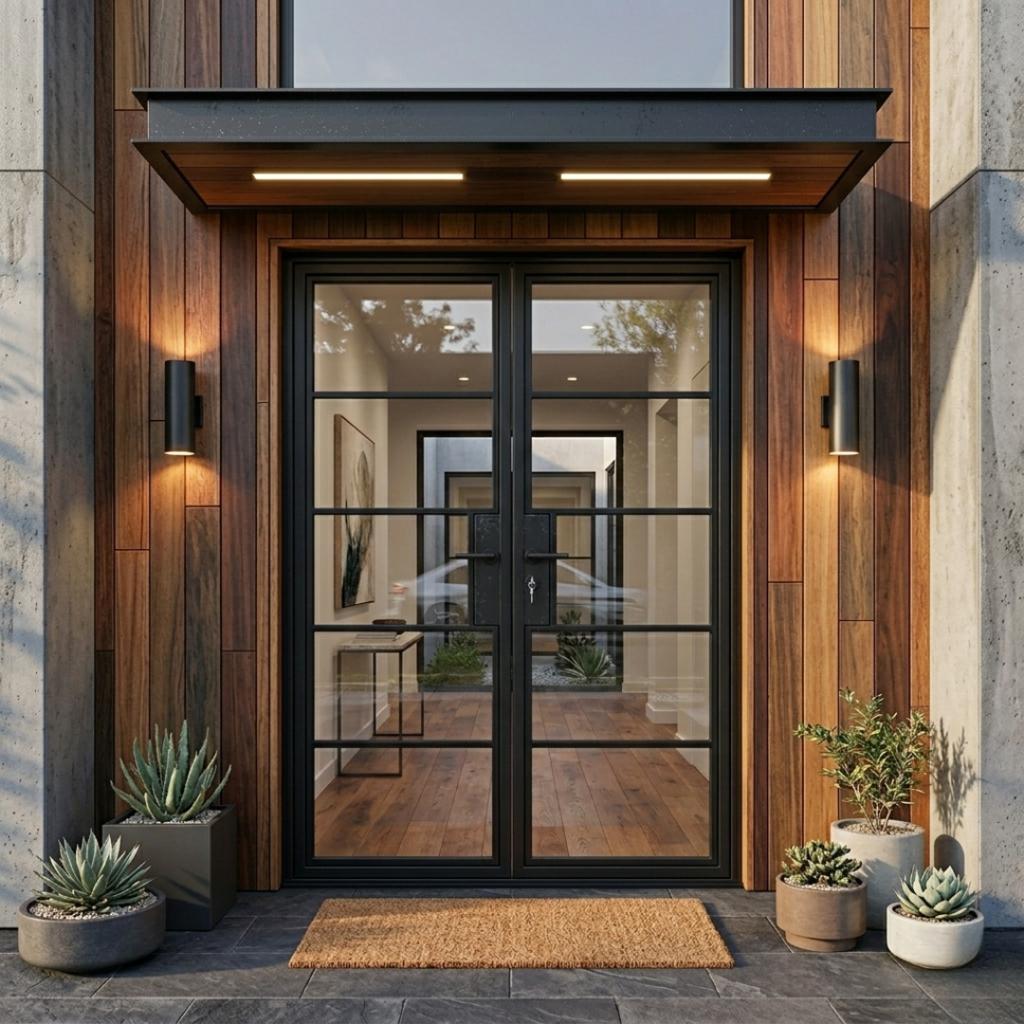
This installation guide is specifically designed for pre-hung residential steel doors secured by screws or bolts through OMG factory pre-drilled holes in the steel frame.
Installation systems use VARIOUS techniques to secure the unit to the structure like welded mounting tabs or external anchor brackets. These instructions, your doors are secured directly through the frame and into the surrounding structural opening.
The most important requirements are:
- Position structural shims directly behind the factory mounting holes.
- Install screws or bolts through the frame, shims, and into suitable structural material.
- Tighten fasteners without bending or twisting the steel frame.
- Maintain correct door alignment and consistent clearances throughout installation.
- Make sure the unit is properly sealed and insulated
Step 1 — Inspect the pre-hung door assembly
Before installation, verify that the delivered unit matches the order and is free of damage.
- Inspect the steel door frame for dents, scratches, or distortion.
- Inspect the factory-installed Low-E glass for cracks and damage.
- Verify the hinges, handles, locks, gaskets, and threshold.
- Identify all factory pre-drilled mounting holes.
- Confirm the correct door swing direction.
- Keep factory shipping braces in place until the assembly is adequately supported.
Important: Never lift the door by its glass panels, handles, or decorative steel dividers.
Step 2 — Prepare and measure the rough opening
The wall opening must be structurally sound and large enough to accommodate the frame and installation shims.
- Measure the width at the top, middle, and bottom.
- Measure the height on the left, middle, and right.
- Check both diagonals for squareness.
- Verify that the sill is level and the sides are plumb.
- Make sure solid structural material is available behind every required mounting location.
- Correct uneven, damaged, or unstable substrates before proceeding.
Measure at several locations. Use your product’s approved rough-opening allowance rather than a generic nominal clearance.
Step 3 — Prepare the sill and waterproofing
For exterior doors, complete the waterproofing before placing the frame.
- Clean and inspect the bottom of the rough opening.
- Install an approved sill pan or compatible waterproofing membrane.
- Provide a drainage path toward the exterior.
- Install required side flashing and integrate with the wall’s weather-resistant barrier.
- Apply compatible sill bedding sealant at the locations required by the threshold design.
- Verify that all load-bearing sill areas have continuous or appropriately distributed support.
Do not block weep holes or drainage channels with sealant.
Step 4 — Position the pre-hung door in the opening
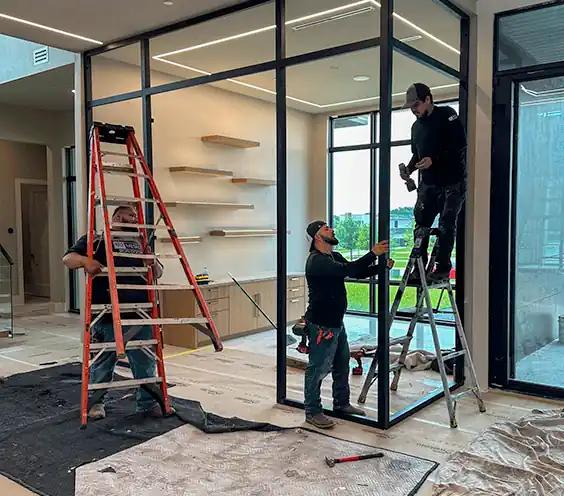
- Using adequate personnel and lifting equipment, carefully move the assembly into position.
- Set the threshold onto the prepared sill support.
- Bring the steel frame upright and center it within the opening.
- Maintain the required installation clearance on both sides.
- Temporarily stabilize and brace the frame.
- Confirm the door is supported and cannot tip or fall.
Do not fully open or load the door leaf until the frame has been adequately secured.
Step 5 — Install shims behind the factory mounting holes
This is a critical step for your through-frame fastening system.
Because the screws pass directly through the steel frame, the gap between the frame and wall must be supported at each specified anchor location.
Without solid shimming behind the mounting holes, tightening a fastener may pull the steel frame toward the wall, causing deformation, binding, uneven reveals, or lock misalignment.
Shimming instructions
- Locate the factory pre-drilled holes along the hinge jamb and lock jamb.
- Insert rigid, moisture-resistant, non-compressible shims in the installation gap directly behind each mounting hole.
- Adjust the shims until the frame is plumb, straight, and square.
- Ensure that shims adequately support the area surrounding each fastener.
- Recheck the frame dimensions and the clearance around the door panel.
- Confirm any head-frame or threshold support requirements specified for your model.
Step 6 — Drill pilot holes into the structural opening
Use the factory pre-drilled holes in your steel frame as the guide for locating the structural anchor holes.
- Verify the frame is properly positioned and temporarily supported.
- Select the manufacturer-approved anchors for the wall material.
- Confirm the required drill diameter, hole depth, embedment, and edge distances.
- Carefully drill through the factory mounting location and shim into the structural substrate.
- Avoid damaging the steel frame, protective coating, glazing, or nearby hardware.
- Remove drilling debris, particularly from masonry holes.
For wood, use appropriately specified structural screws. For concrete or masonry, use anchors approved for the substrate. Steel-stud construction may require reinforced backing or a specifically engineered connection.
Do not enlarge or reposition factory holes without manufacturer approval.
Step 7 — Secure the frame with screws or bolts
Installation sequence
- Start with an approved upper hinge-side mounting location.
- Verify the shim is properly seated behind the hole.
- Insert the appropriate screw or bolt through the factory mounting hole.
- Engage the structural substrate and tighten only enough to hold the frame in position.
- Secure another hinge-side mounting location and recheck plumb.
- Continue to the latch side while maintaining the correct opening width.
- Install remaining required fasteners at the factory-designated positions.
- Progressively tighten the fasteners to the specified requirements.
- Check the frame after every few fasteners to detect any movement.
Never overtighten the fasteners to pull an unsupported steel frame toward an uneven wall. If the frame shifts when tightening, loosen the fastener, correct the shim support, and secure it again. These principles are consistent with published steel-door through-frame installation guidance.
Step 8 — Check for frame distortion and verify alignment
After the mounting fasteners have been installed, check the entire assembly.
- Verify the hinge jamb and lock jamb remain plumb.
- Measure the frame width at the top, middle, and bottom.
- Confirm the head is level.
- Check the corners for squareness.
- Inspect for bowing, twisting, or movement near mounting holes.
- Confirm that the door-to-frame clearance remains consistent.
If the frame is distorted, loosen the affected fasteners and adjust the shims before retightening.
Step 9 — Open, close, and test the door
Once the frame is securely anchored:
- Remove temporary shipping braces according to the manufacturer’s instructions.
- Open and close the door slowly several times.
- Verify the panel does not rub against the frame or threshold.
- Check hinge movement and alignment.
- Operate the lock, latch, and any multipoint locking mechanism.
- Verify continuous contact with the weatherstripping.
- For double doors, check meeting-stile alignment and inactive-leaf locking hardware.
The door should operate smoothly without requiring excessive force.
Step 10 — Insulate around the frame
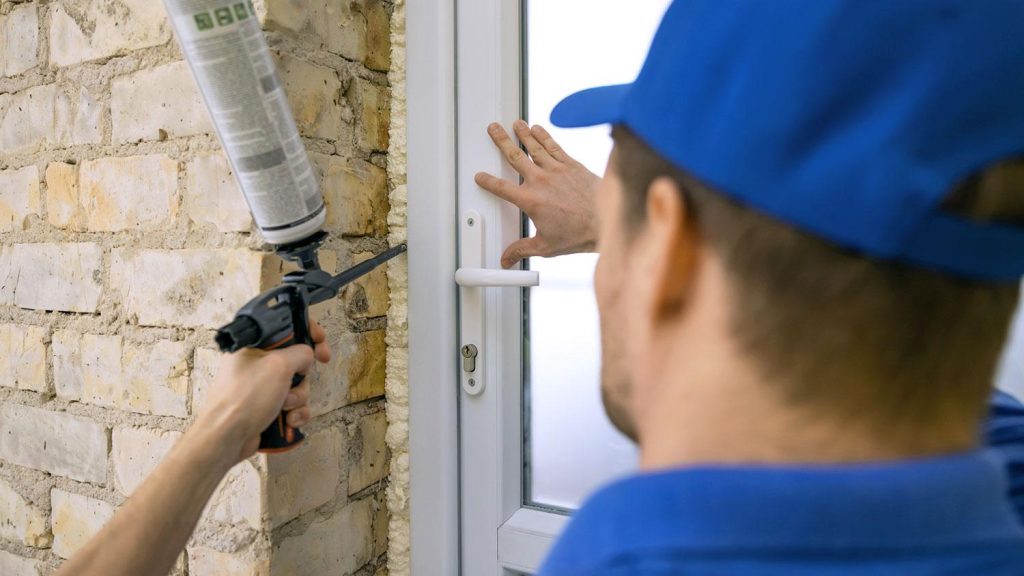
- Confirm that all mechanical fasteners have been installed and the door operates correctly.
- Fill the perimeter installation gap with low-expansion window and door foam or another approved insulation material.
- Avoid applying excessive foam that could distort the frame.
- Allow the insulation to cure.
- Trim excess material as needed.
Insulation fills the cavity but does not replace structural shims or anchors.
Step 11 — Apply exterior perimeter sealant
- Clean the perimeter of the steel frame.
- Install backer rod where required.
- Apply compatible exterior-grade sealant at the designated frame-to-wall joints.
- Tool the sealant to create a continuous weather-resistant joint.
- Complete head flashing and connections to the building’s weather barrier.
- Verify that sill drainage paths remain open.
Do not seal over designed weep holes or drainage channels.
Step 12 — Clean and inspect the Low-E glass
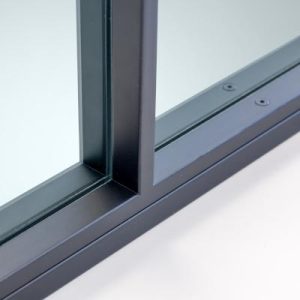
- Remove protective packaging and film in accordance with the manufacturer’s instructions.
- Inspect glass surfaces for scratches, cracks, or other damage.
- Confirm that glazing gaskets remain seated correctly.
- Clean with a soft, non-abrasive cloth and approved glass cleaner.
- Inspect the steel frame finish for scratches or damaged protective coatings.
- Repair minor finish damage using manufacturer-approved methods.
Do not use metal scrapers or abrasive products on the glass or powder-coated steel.


